
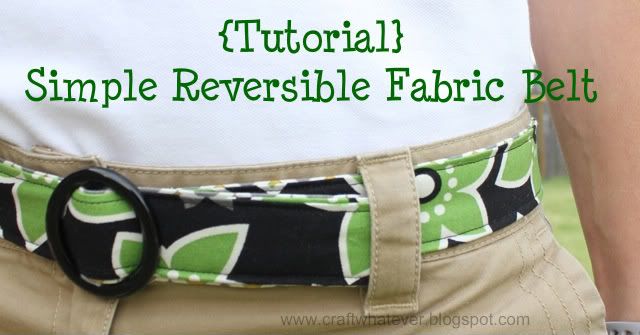
Do you like this belt? Well, I made it. And I thought I would share the tutorial with you today! How's that sound?
You see, I used to have this gorgeous belt, a Vera Bradley belt, but the buckle broke. I was crushed. And in need of a new belt. I had that VB belt for-ev-er! You see, the Vera belt was a gift, and since I am so
The original VB belt was very long and I did this double-over thing with the end that I really got used to wearing so I wanted to make a belt similar in construction/size. (Having said that, I have a couple more belts to share with you later on that address some of the things that bug me about this belt- like the length and thinness.)
Here is my tutorial for a FAST and EASY Reversible Fabric Belt that you can make today and wear in about an hour (or less)!

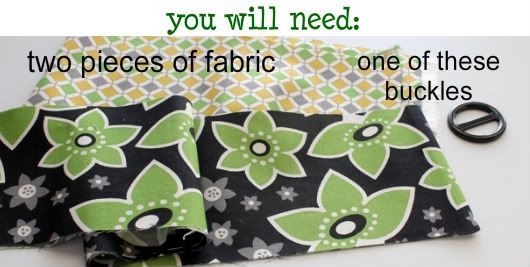
Step 1: Cut your fabrics based on two things- size of the buckle and desired length of your belt. My old belt was about 42 or so inches long which coincides with the width of my cotton fabric (44" wide). So I decided to just use the entire width of fabric as my belt length. For the width, measure the straight bar in the middle of your buckle and multiply that by 4.
My buckle was 1.5" wide x 4 = 6" so I cut each fabric piece to 44" long X 6" wide.
Step 2: a. Fold length of fabric in half and press. b. Open and fold raw edges to the crease you made in fig. a. Press. c. Fold in half along that first crease and press.

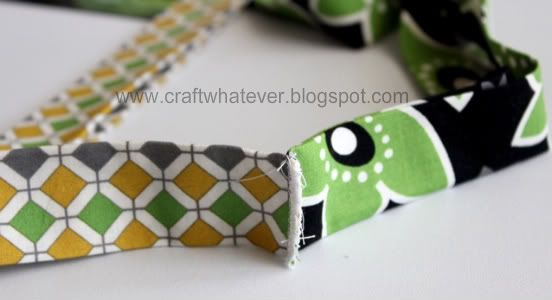
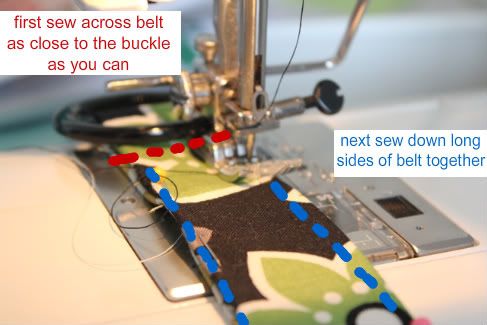
Step 3: Sew ends with "right" sides together. I did a few zig zags over the raw edges and a few straight stitches for a clean edge.
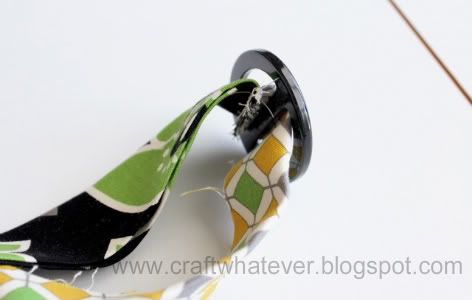
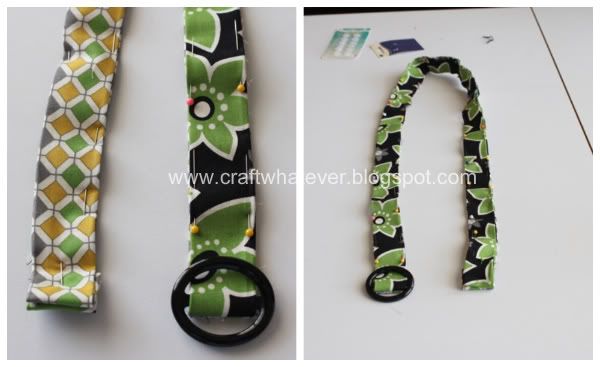
Step 4: Feed the buckle onto the belt like this:
Step 5: Pin the two strips together.
The end of the belt, I just did a simple fold like this:
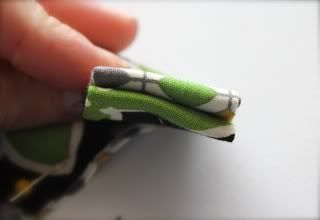
Then when you sew it together, just tuck in any stray raw edges so they don't stick out.
I do have a couple more belt ideas that I can't wait to share with you! Perfect for summer! {yay summer}
That's it! Now go wear the heck out of your new belt !!!!


and also at Not Just a Housewife


this is SO cute! I love it! I am your newest follower and would love it if you would check out my blog and follow me too! Thanks!
ReplyDelete-Nikki
http://chef-n-training.blogspot.com/